iOS使用系统设备图片里的二维码及位置
iOS使用系统设备图片里的二维码及位置
参考:
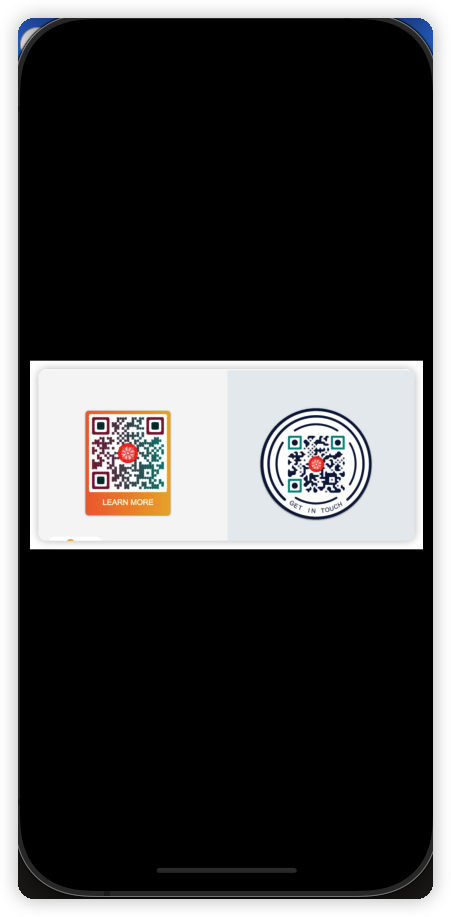
项目中经常有识别图片里的二维码,以及二维码所在的位置
根据图片获取二维码信息代码如下
1
2
3
4
5
6
7
8
 // 将image转换为cgImage
 let cgImage = image.cgImage
 // 创建二维码探测器
 let detector = CIDetector(ofType: CIDetectorTypeQRCode, context: nil, options: [CIDetectorAccuracy: CIDetectorAccuracyHigh])
 // 获取识别内容
 let features = detector?.features(in: CIImage(cgImage: cgImage)) as? [CIQRCodeFeature]
 // 对识别出的内容,读取messageString、bounds属性
 // ...
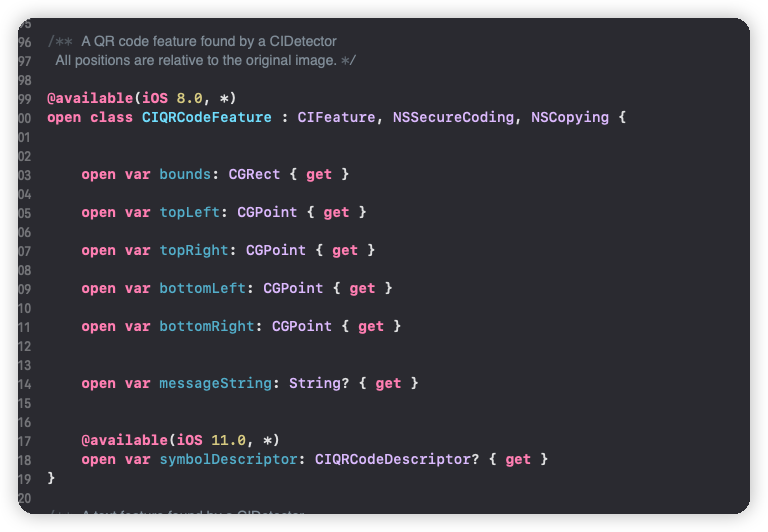
系统识别二维码可以得到的属性  系统识别出的二维码内容的
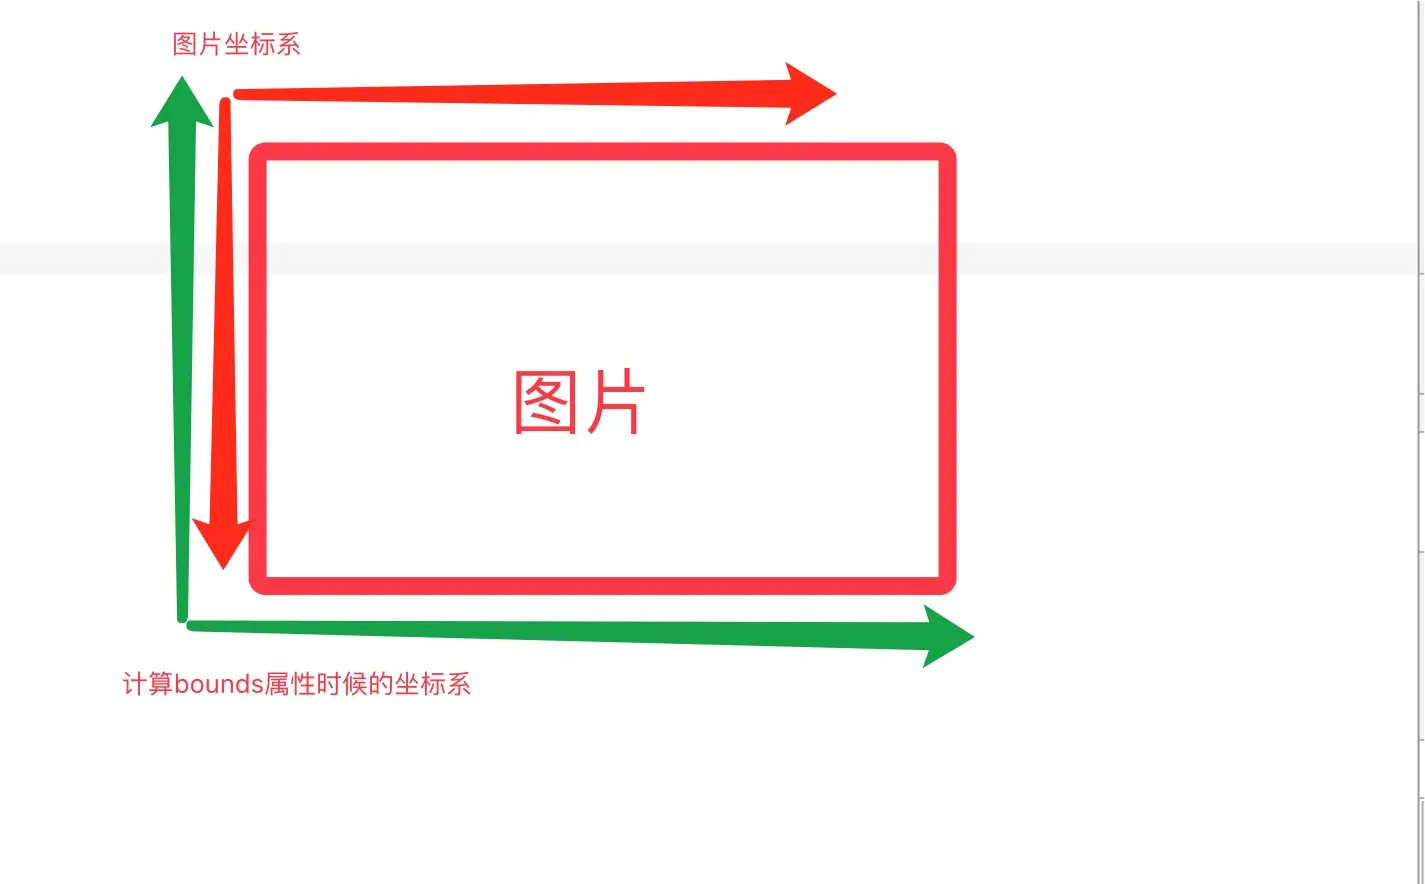
bounds的y是以左下角开始的 
1
2
3
4
5
6
7
8
9
10
11
12
13
14
15
16
17
18
19
20
21
22
23
24
25
26
27
28
29
30
31
32
33
34
35
36
37
38
39
40
41
42
43
44
45
46
47
48
49
50
51
52
53
54
55
56
57
58
59
60
61
62
63
64
65
66
67
68
69
70
71
// 识别图片二维码
func scanQRCodes(fromImage image: UIImage) -> [(String, CGRect)]? {
    // UIImage转CIImage不能使用image.CIImage 转换出来的对象为nil
    // 将image转换为cgImage
    guard let cgImage = image.cgImage else {
        return nil
    }
    // 创建二维码探测器
    let detector = CIDetector(ofType: CIDetectorTypeQRCode, context: nil, options: [CIDetectorAccuracy: CIDetectorAccuracyHigh])
    // 获取识别内容
    guard let features = detector?.features(in: CIImage(cgImage: cgImage)) as? [CIQRCodeFeature],
          features.count > 0 else {
        return nil
    }
    var list = [(String, CGRect)]()
    let imageSize = image.size
    for item in features {
        // 如果二维码存在,则将二维码、二维码所在的bounds进行返回
        if let result = item.messageString, result.count > 0 {
            // 原始的扫描的坐标是以左下角为起始点
            let qrBounds = item.bounds
            let x: CGFloat = qrBounds.origin.x
            // 翻转frame的y
            let y = imageSize.height - qrBounds.origin.y - qrBounds.size.height
            // 翻转y后的frame
            let qrBoundsT = CGRect(origin: CGPoint(x: x, y: y), size: qrBounds.size)
            list.append((result, qrBoundsT))
        }
    }
    return list
}

func showImageQR() {
    let image = UIImage(named: "xxx")// 获取原始图片
    let qrList = scanQRCodes(fromImage image: image)
    // 设置或获取一个image真正展示的frame
    let showImageView = UIImageView(frame: CGRect(x: 10, y: 20, width: 100, height: 200))
    showImageView.contentMode = .scaleAspectFit
    showImageView.image = image
    // 展示的图片的View的bounds
    let showBounds = showImageView.bounds
    let scaleWdith = showBounds.size.width/imageSize.width
    let scaleHeight = showBounds.size.width/imageSize.width
    let scale = min(scaleWdith, scaleHeight)
    for item in qrList {
        // 计算出qrcode在图片里的相对位置
        let qrBounds = item.1
        let qrBoundsScale = CGRect(x: qrBounds.origin.x * scale, y: qrBounds.origin.y * scale, width: qrBounds.size.width * scale, height: qrBounds.size.height * scale)
        // 计算图片拉伸的offset位置
        var offset: CGFloat = 0
        if scale == scaleWdith {
            offset = (showBounds.size.height - image.size.height * scale)/2
        } else {
            offset = (showBounds.size.width - image.size.width * scale)/2
        }
        // 二维码所在的位置
        let qrX = qrBoundsScale.origin.x
        let qrY = qrBoundsScale.origin.x
        let qrWidth = qrBoundsScale.width
        let qrHeight = qrBoundsScale.height

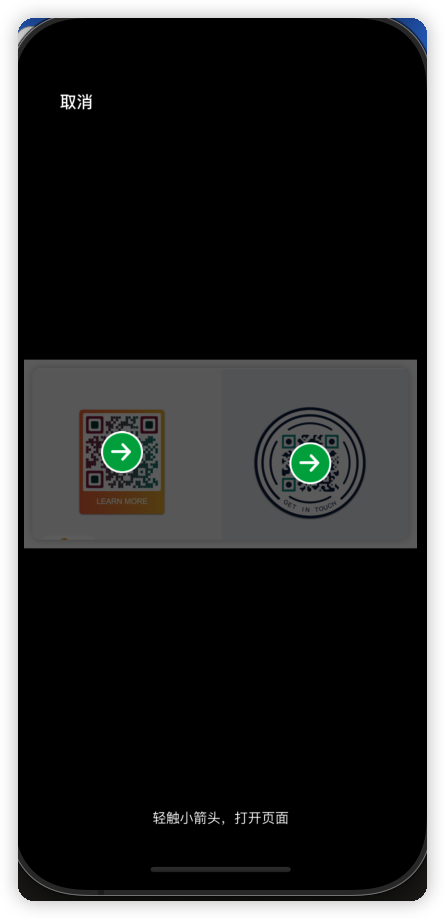
        // 在二维码中间增加一个点击按钮
        let btnWH: CGFloat = 40
        let btnFrame = CGRect(x: qrX + qrWidth/2 - btnWH , y: qrY + qrHeight/2 - btnWH, width: btnWH, height: btnWH)
        let btn = UIImageView()
        btn.iamge = UIImage(named: "...")
        btn.frame = btnFrame
        showImageView.addSubview(btn)
    }

}
This post is licensed under CC BY 4.0 by the author.

