appium4:使用go-ios在pc、mac安装启动WebDriverAgent
参考:
由于每次运行Appium测试,必须要连着Mac电脑,常规运行WDA有2种方式
方式一
使用xcode运行WebDriverAgent,配置好bundleId,手动选择指定的手机,使用Test模式运行,Product > test 或快捷指令 cmd + u
方式二
使用xcodebuild脚本执行运行到指定的真机udid上
1
2
3
4
5
xcodebuild -project \
 /xxx/xxx/WebDriverAgent.xcodeproj \
  -scheme WebDriverAgentRunner \
  -destination 'id=xxxx' \
  test
方式三
使用xcodebuild build-for-testing构建wda.ipa
导出并安装wda.ipa, 导出这一步基本只能在Mac上执行,且需要安装开发工具
1
2
3
4
5
6
7
8
9
10
11
12
13
14
15
16
17
18
19
20
21
22
23
24
25
26
# 1、xcode打开代码下的WebDriverAgent.xcodeproj项目,配置好账号及bundleId
xcodebuild build-for-testing \
-project /xxx/xxx/WebDriverAgent.xcodeproj \
-scheme WebDriverAgentRunner -sdk iphoneos -configuration Release \
-derivedDataPath /xxx/xxx/xxx
# 2、cd的目录和上条命令/tmp/derivedDataPath目录是一致的
cd /tmp/derivedDataPath
# 3、这个目录是连续的可以和上条命令一起 cd /xxx/xxx/xxx/Build/Products/Release-iphoneos
cd Build/Products/Release-iphoneos
# 4、在这个目录下创建一个Payload文件夹,并且把.app文件复制到Payload文件夹下
mkdir Payload && mv *.app Payload
# 5、用zip命令打包出来一个ipa
zip -r WDA.ipa Payload

查找出相关的udid
# 获取模拟器设备列表,找到udid
xcrun simctl list devices | grep -E "Booted|Available|Shutdown"
# 获取真机查看方式,查看真是失败
idevice_id -l | head -n1
# 获取真机和模拟器查看的方式
xcrun xctrace list devices
# 本文使用的go-ios需要如下安装
npm install -g go-ios

# 6、把WDA.ipa安装到指定设备上
ios install --path=/xxx/xx/WDA.ipa --udid=<udid>
启动并运行WDA,Mac和Windows都可以,一般直接在PC上操作
1
2
3
4
5
6
# 开启隧道
sudo ios tunnel start

# 启动wda
ios runwda --udid=xxxx --bundleid=WDA.ipa的bundleId --testrunnerbundleid=WDA.ipa的bundleId --xctestconfig=WebDriverAgentRunner.xctest
综上:整个流程 1、生成WDA.ipa包
1
2
3
4
5
6
7
8
9
10
11
12
13
# 1、xcode打开代码下的WebDriverAgent.xcodeproj项目,配置好账号及bundleId
xcodebuild build-for-testing \
-project /xxx/xxx/WebDriverAgent.xcodeproj \
-scheme WebDriverAgentRunner -sdk iphoneos -configuration Release \
-derivedDataPath /xxx/xxx/xxx
# 2、cd的目录和上条命令/tmp/derivedDataPath目录是一致的
cd /tmp/derivedDataPath
# 3、这个目录是连续的可以和上条命令一起 cd /xxx/xxx/xxx/Build/Products/Release-iphoneos
cd Build/Products/Release-iphoneos
# 4、在这个目录下创建一个Payload文件夹,并且把.app文件复制到Payload文件夹下
mkdir Payload && mv *.app Payload
# 5、用zip命令打包出来一个ipa
zip -r WDA.ipa Payload
2、安装go-ios
1
npm install -g go-ios
3、使用go-ios安装WDA.ipa
1
ios install --path=/xx/xx/WDA.ipa --udid=xxx
4、开启go-ios隧道,方便后续运行wda
1
sudo ios tunnel
5、使用go-ios运行WDA.ipa, 方便
1
ios runwda --udid xxxxx --bundleid=WDA.ipa的bundleId --testrunnerbundleid=WDA.ipa的bundleId --xctestconfig=WebDriverAgentRunner.xctest
如果要使用appium + inspector + go-ios查看元素
1.1、生成wda.ipa,一次性生成就好(只有Mac安装xcode才可以)
1.2、手机上安装wda.ipa(PC、Mac都可以)
2、使用go-ios运行wda(PC、Mac都可以)
1
2
3
4
5
6
7
8
# 没有安装go-ios时,需要安装,安装好后以后就不用安装了
npm install -g go-ios

# 开启隧道
sudo ios tunnel start

# 启动wda
ios runwda --udid=xxxx --bundleid=WDA.ipa的bundleId --testrunnerbundleid=WDA.ipa的bundleId --xctestconfig=WebDriverAgentRunner.xctest
3,安装并启动appium
1
2
3
4
# 没有安装appium就安装
npm install -g appium
# 启动appium
appium --log-level debug --allow-cors
4、运行inspector
1
2
3
4
5
6
7
8
9
https://inspector.appiumpro.com/

{
  "platformName": "iOS",
  "appium:automationName": "XCUITest",
  "appium:udid": "xxxx",
  "appium:app": "/xxx/xxx/test.ipa",
  "usePrebuiltWDA": true
}
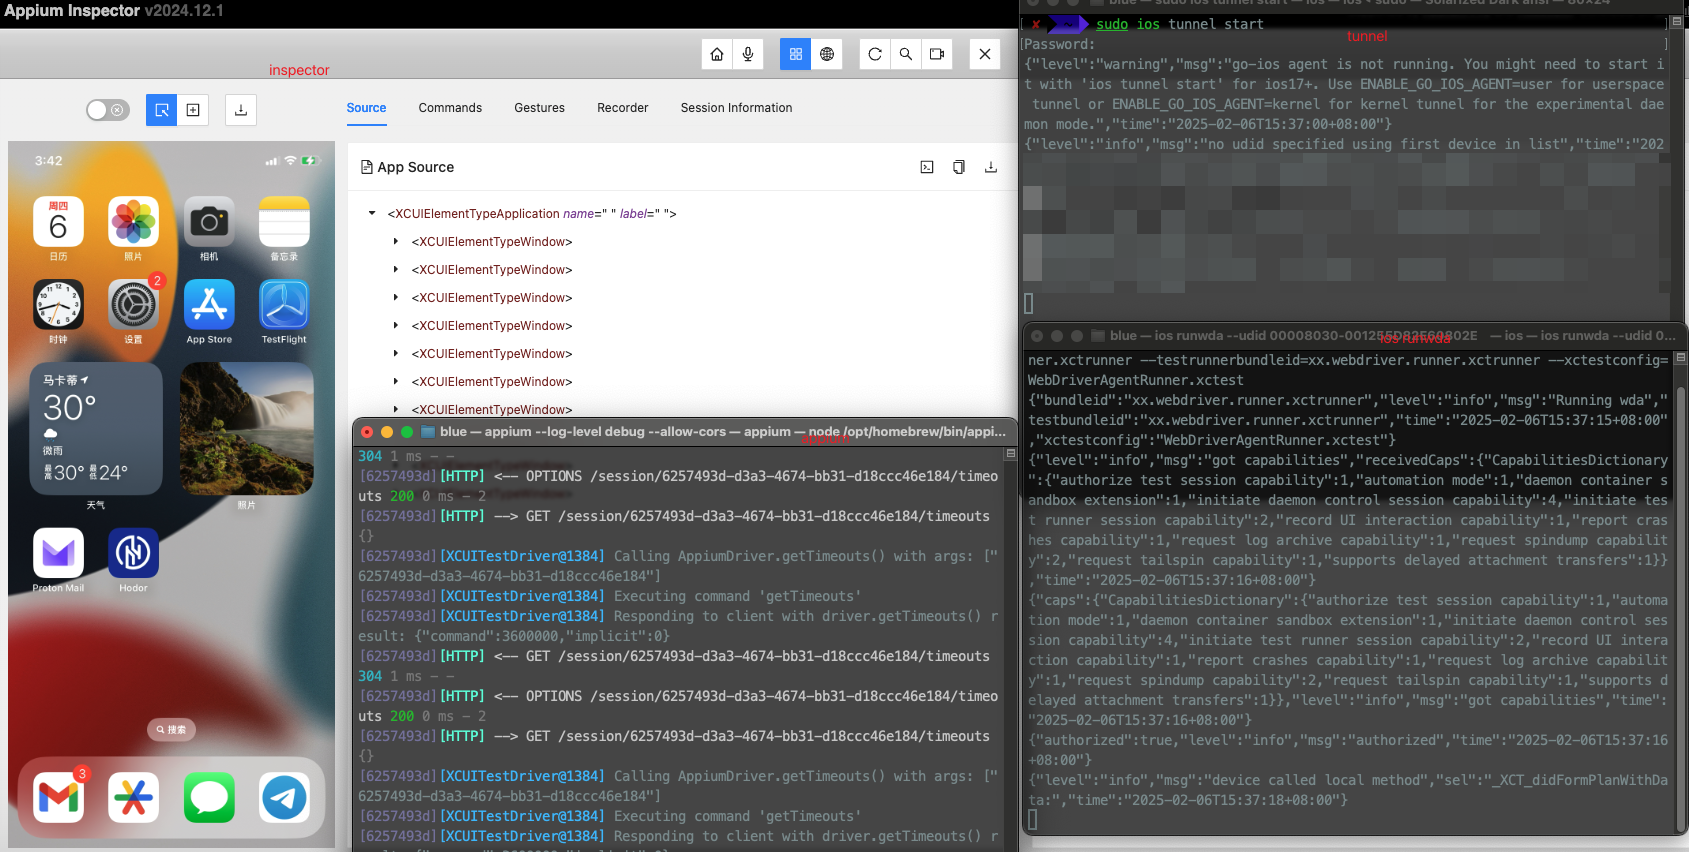 —- 在PC、Mac都可以查看iPhone手机信息及测试的方式
1.1、生成wda.ipa,一次性生成就好(只有Mac安装xcode才可以)
1.2、手机上安装wda.ipa(PC、Mac都可以)
2、使用go-ios运行wda(PC、Mac都可以)
1
2
3
4
5
6
7
8
# 没有安装go-ios时,需要安装,安装好后以后就不用安装了
npm install -g go-ios

# 开启隧道
sudo ios tunnel start

# 启动wda
ios runwda --udid=xxxx --bundleid=WDA.ipa的bundleId --testrunnerbundleid=WDA.ipa的bundleId --xctestconfig=WebDriverAgentRunner.xctest
这使得PC上的管理工具(例如 iTunes、libimobiledevice、go‑ios 等)能够通过建立与设备之间的通信连接,发送命令来调用和控制这些服务的功能。
1
2
3
4
5
6
7
8
# go-ios支持的相关命令
# https://github.com/danielpaulus/go-ios
# https://github.com/danielpaulus/go-ios/blob/main/main.go
ios install /xx/xx/xxx.ipa
ios uninstall xx.xx.xx

# 由于iPhone与电脑(pc或mac)使用usb连接后,利用USBMMUX协议来与iPhone建立连接并通过lockdownd服务通信
# 通信的命令比如调用com.apple.mobile.installation_proxy,并卸载、安装app
建立隧道命令流程
main.go -> -> device, err := ios.GetDevice(udid) (建立链接) -> 等待接收命令 -> b, _ = arguments.Bool("tunnel") (如果命令是启动通道app) -> startTunnel -> pairRecordsPath, _ := arguments.String("--pair-record-path") -> startTunnel(context.TODO(), pairRecordsPath, tunnelInfoPort, useUserspaceNetworking) -> tm := tunnel.NewTunnelManager(pm, userspaceTUN) -> func startTunnel(ctx context.Context, recordsPath string, tunnelInfoPort int, userspaceTUN bool) { -> p.StartProcess(bundleID, env, []interface{}{}, opts) (执行安装命令) -> func (p ProcessControl) StartProcess(bundleID string, envVars map[string]interface{}, -> pm, err := tunnel.NewPairRecordManager(recordsPath)
启动app流程
main.go -> -> device, err := ios.GetDevice(udid) (建立链接) -> 等待接收命令 -> b, _ = arguments.Bool("launch") (如果命令是启动app) -> pControl, err := instruments.NewProcessControl(device) processcontrol.go开启服务”com.apple.dt.Xcode.WatchProcessControl”) -> pid, err := pControl.LaunchAppWithArgs(bundleID, args, envs, opts) (调用服务执行卸载命令) processcontrol.go -> func (p *ProcessControl) LaunchApp(bundleID string, my_opts map[string]any) (uint64, error) { -> p.StartProcess(bundleID, env, []interface{}{}, opts) (执行安装命令) -> func (p ProcessControl) StartProcess(bundleID string, envVars map[string]interface{}, -> msg, err := p.processControlChannel.MethodCall("launchSuspendedProcessWithDevicePath:bundleIdentifier:environment:arguments:options:",...)
安装app流程
main.go -> -> device, err := ios.GetDevice(udid) (建立链接) -> 等待接收命令 -> b, _ = arguments.Bool("install") (如果命令是安装app) -> installApp(device, path) (调用卸载方法) -> conn, err := zipconduit.New(device) (Zipconduit_installer.go开启服务 “com.apple.streaming_zip_conduit.shim.remote”) -> err = conn.SendFile(path) (调用服务执行卸载命令) (Zipconduit_installer.go -> func (conn Connection) SendFile(appFilePath string) error { -> conn.sendDirectory(appFilePath) or conn.sendIpaFile(appFilePath) (执行安装命令) -> conn.deviceConn.Write 文件写入
卸载app流程
main.go -> -> device, err := ios.GetDevice(udid) (建立链接) -> 等待接收命令 -> b, _ = arguments.Bool("uninstall") (如果命令是卸载app) -> uninstallApp(device, bundleID) (调用卸载方法) -> svc, err := installationproxy.New(device) (installationproxy.go开启服务 “com.apple.mobile.installation_proxy”) -> svc.Uninstall(bundleId) (调用服务执行卸载命令) installionproxy.go -> func (c *Connection) Uninstall(bundleId string) error -> b = xxxx; c.deviceConn.Send(b) (组装命令,执行命令)
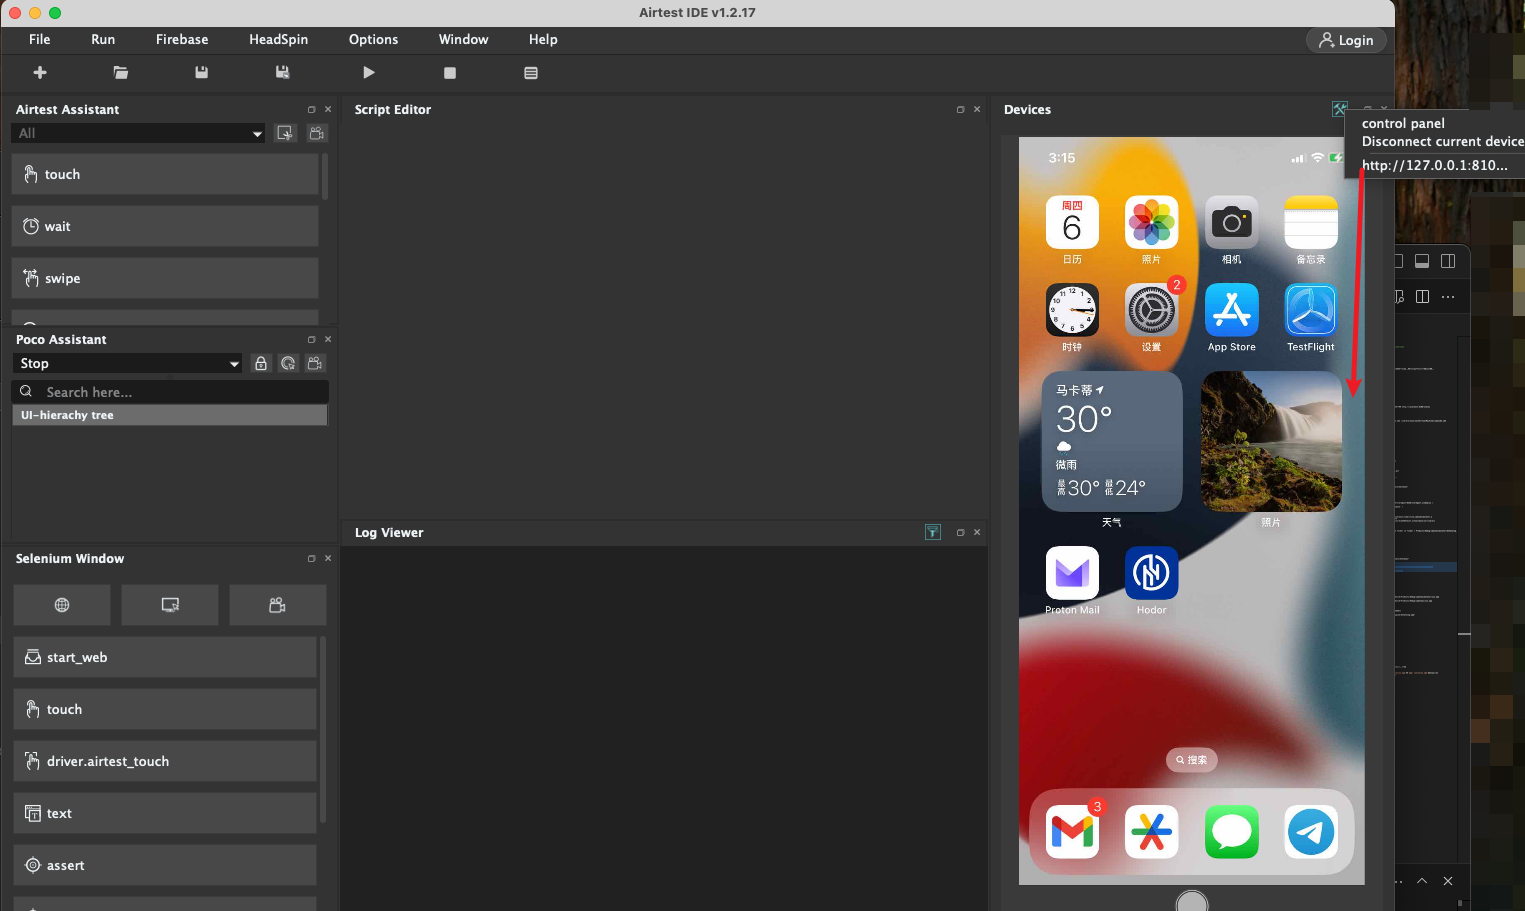
3、使用airtest查看